The Ultimate Guide to Crawl Space Encapsulation
- December 3, 2024
- No Comments
The Ultimate Guide to Crawl Space Encapsulation: Why It Matters and How It Works
If you’ve been battling cold floors, drafty rooms, or even mysterious odors in your home, your crawl space might be the culprit. Often overlooked, the crawl space plays a significant role in your home’s comfort, energy efficiency, and structural integrity. Encapsulating this area isn’t just a fancy upgrade—it’s a smart investment for your home and your family’s well-being.
Let’s dive into the benefits of crawl space encapsulation and walk through the steps to transform your crawl space into a clean, dry, and energy-efficient part of your home.
Why Crawl Space Encapsulation is Essential
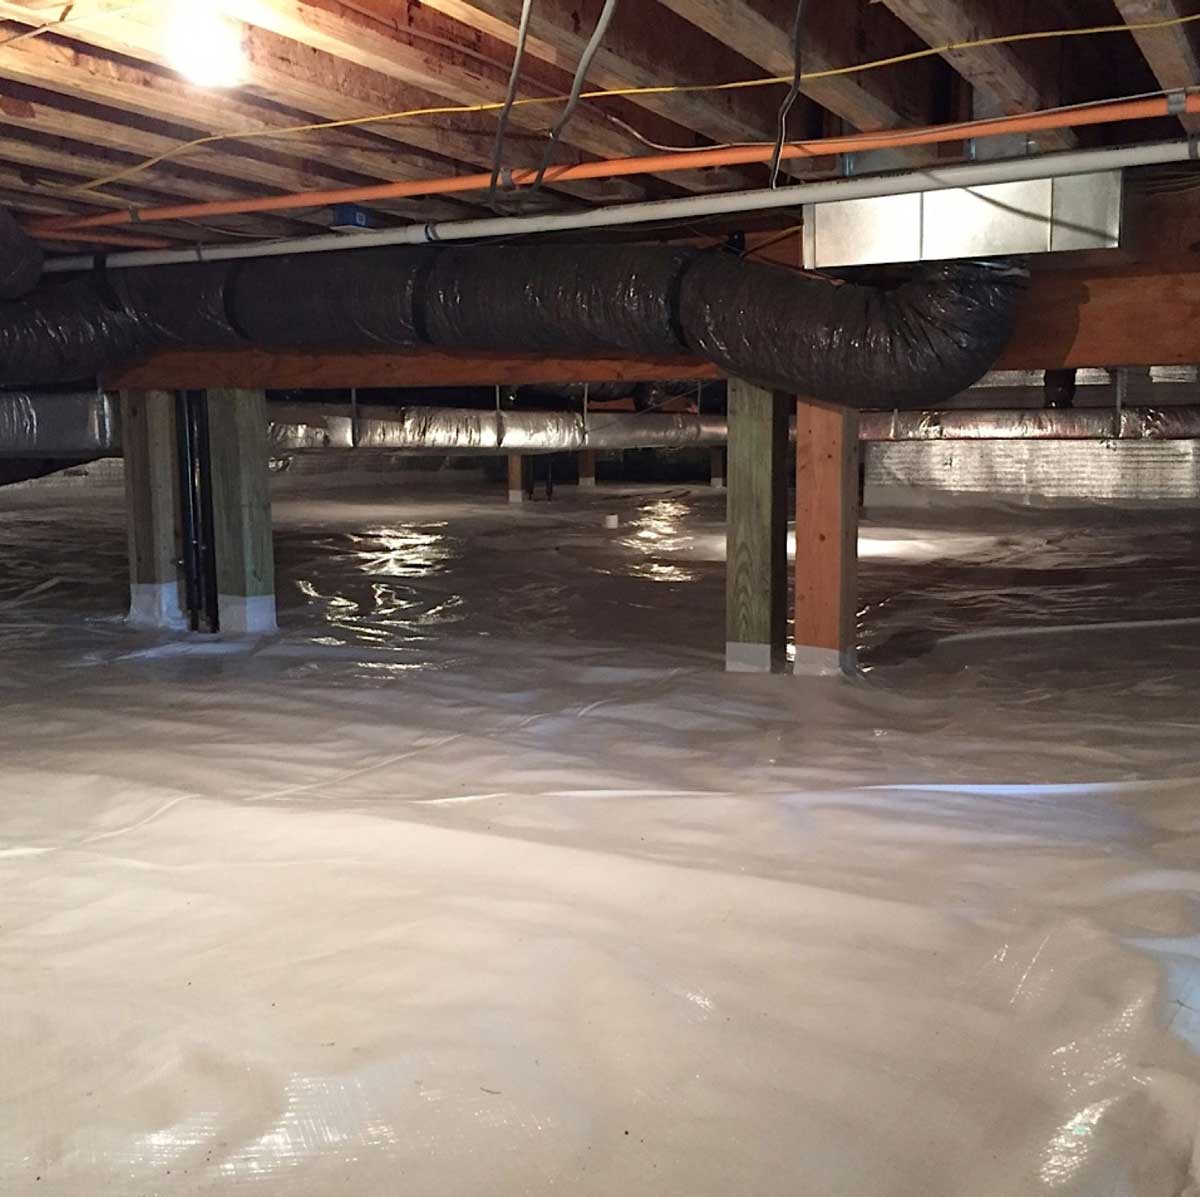
Encapsulation involves sealing your crawl space to protect it from outside elements like moisture, cold air, and pests. This process not only boosts your home’s comfort but also protects its structural integrity. Here’s why it’s a must-do for homeowners:
1. Warm Floors, Happy Feet
Do you cringe at the thought of stepping barefoot onto your floors in winter? With proper insulation from encapsulation, your floors stay warm and cozy. That means no more socks or slippers as a daily necessity. Encapsulation acts as a barrier, keeping the cold out and the warmth in.
2. Cut Energy Costs
When your crawl space is unsealed, cold air seeps into your home, making your heating system work overtime. Encapsulation keeps that chill out, reducing energy bills and saving you money every month.
3. Bye-Bye Drafts
Cold spots upstairs? They’re often caused by uninsulated crawl spaces letting drafts in. Encapsulation eliminates those icy breezes, creating a more consistent and comfortable temperature throughout your home.
4. Healthier Home, Healthier You
An unsealed crawl space is a breeding ground for mold, mildew, and allergens. These can creep into your home, causing respiratory issues and unpleasant odors. Encapsulation locks out moisture, keeping your air cleaner and your family healthier.
5. Smart Protection
Extreme temperatures can wreak havoc on your home’s structure, including floors, pipes, and support beams. Encapsulation shields these components, ensuring your home remains sturdy and safe no matter the season.
The Crawl Space Encapsulation Process
Encapsulation might sound complex, but at Value Dry Waterproofing, we’ve broken it down into a series of steps designed to transform your crawl space efficiently and effectively.
Step 1: Remove Existing Plastic on Floor
The first step is to strip away any old, damaged plastic liners that may have been haphazardly installed. These are often insufficient and can trap moisture rather than eliminate it.
Step 2: Remove Fallen Insulation
Old insulation that’s sagging or fallen is removed. Not only is it ineffective, but it can also harbor mold, mildew, and pests.
Step 3: Remove Unhealthy Material from Floor
Debris, damp materials, and anything that promotes mold growth or pest activity are cleared out, ensuring a fresh and clean base to work with.
Step 4: Rake Up & Clean Up
The crawl space is thoroughly raked and cleaned to prepare it for the encapsulation materials. A clean surface ensures a better seal and longer-lasting results.
Step 5: Level & Fill as Needed
If the crawl space floor is uneven, it’s leveled and filled to create a smooth, stable surface for the encapsulation layers.
Encapsulation Materials and Installations
Once the crawl space is prepped, the encapsulation process begins with high-quality materials and systems:
1. Drainage Matting, Kleen Space, and Sump Pump Installation
Drainage matting is laid down to manage water flow and prevent moisture buildup. A durable vapor barrier like Kleen Space is installed to seal the crawl space floor and walls.
Sump Pump Options Include:
- Primary Sump Pump with Battery Backup: Includes patented Wi-Fi monitoring and alerting technology for peace of mind.
- Primary Sump Pump with Audible Battery Backup: Provides alerts in case of water intrusion.
- Primary Sump Pump Only: A dependable option for areas with less risk of flooding.
2. JetKleen Installation
This system adds an extra layer of moisture control by ensuring any water intrusion is swiftly managed.
3. Discharge Installation
Water is efficiently redirected away from your home, preventing future issues.
Sealing and Insulation
Proper sealing is the backbone of encapsulation. These steps lock out moisture and cold air:
1. Seal All Vents
Vents are closed off with ProDex or closed-cell spray foam to prevent drafts and keep the crawl space temperature stable.
2. Insulate Walls and Band Boards
Using ProDex or spray foam, the walls and band boards are insulated to lock in warmth and enhance energy efficiency.
Structural Reinforcement
For crawl spaces that need extra support, the following solutions ensure stability:
- Stable Wall: Provides additional strength to crawl space walls.
- Rhino Straps & Bull Dog Beams: Reinforce support beams for long-term durability.
- Smart Jacks: Adjustable jacks are installed to support sagging floors above.
Final Touches: The Finishing Layer
Once structural integrity is reinforced, the final steps ensure a complete seal:
- Vapor Barrier on Perimeter Crawl Space Foundation Wall: A durable barrier is applied to prevent moisture infiltration.
- Drainage Matting and Kleen Space: These materials are extended across the floor and wrapped around posts and columns for full coverage.


